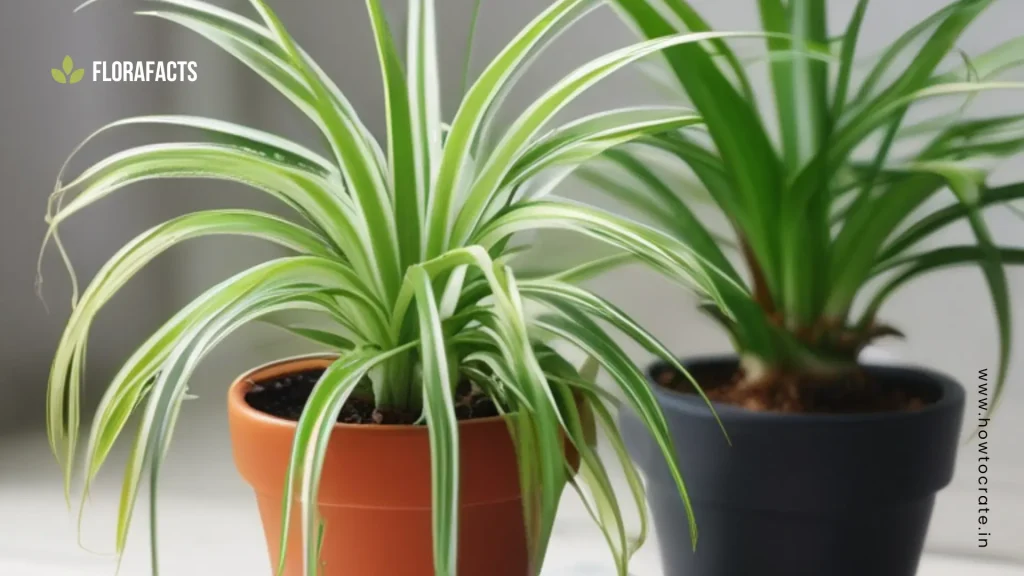
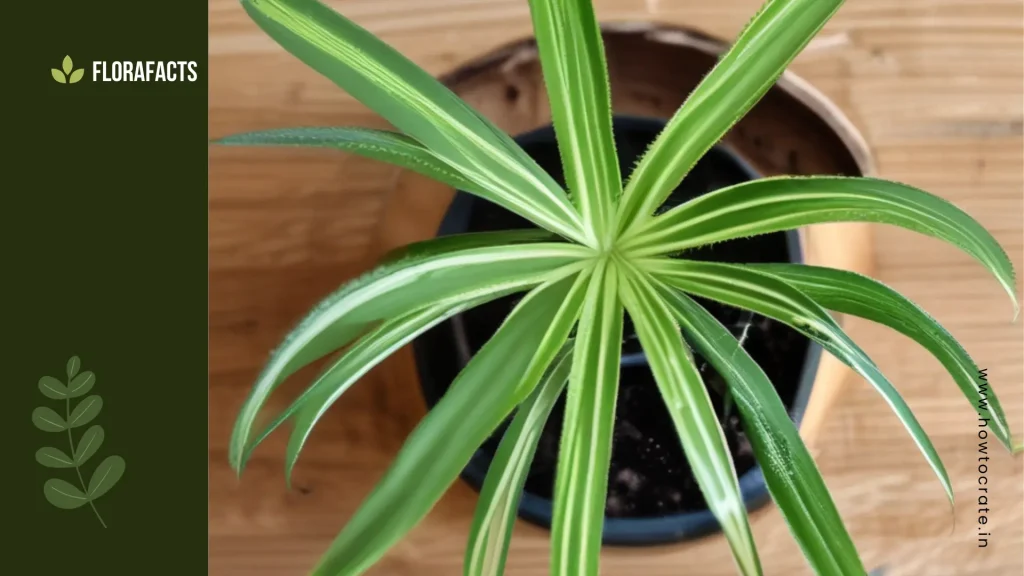
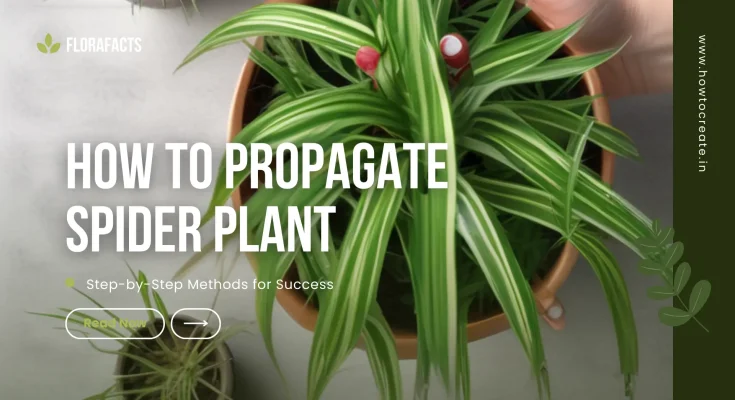
Spider plants, also known by the botanical name Chlorophytum comosum, are among the most popular houseplants for at least two reasons: they are considered to be hardy, the foliage is very attractive, and it’s very easy to propagate. Knowing how to propagate spider plant doesn’t mean more plants in your collection; it also allows you to pass on some to friends and relatives. This will lead you through a few ways of propagating, tips for success, and other insights that you can rely on as you become a spider plant propagation expert.
How to Propagate Spider Plant ?
To learn how to propagate spider plant, you can use three effective methods:: water propagation, soil propagation, and even division.
- Water Propagation: Take a spiderette with roots or root nubs showing, place it in a glass of distilled water, and change the water every few days. After 7-10 days, transfer it to soil once the roots are approximately 2 inches long.
- Soil Propagation: Plant spiderette directly in the well-draining potting soil. Water it lavishly and place it in bright, indirect light.
- Division: For large plants, carefully dig out the parent plant from its pot and separate it into sections, making sure that each section will have roots and leaves. Use pots to plant these sections.
These techniques are better carried out in spring or summer when the plant is actively growing.
Spider Plant Propagation
Propagation is how new plants are created from existing ones. Spider plants are well-suited for this, as they produce “baby” plants called spiderettes or plantlets that can readily take root and grow into new plants. Spider plants must be propagated in spring or summer when they are actively growing.
Understanding the Anatomy of Spider Plants
A brief idea about the structure of spider plants is necessary before approaching the methods of their propagation:
- Leaves: It has long, curved, green leaves that may sport white or yellow stripes.
- Stolons: Long runners that grow from the parent plant, producing spiderettes at their ends.
- Roots: Spiderettes produce tiny roots to facilitate nutrient and water uptake once they are planted.
Method 1: Propagating Spider Plants in Water
Water Propagation is very easy, and many beginners fall in love with this method. Here’s how to do it.
- Select a Healthy Spiderette: Choose a spiderette with some roots visible or small nubs where the roots will develop.
- Cut the Stolon: Using sterilized scissors, cut the stolon 2-3 inches from the base of the spiderette.
- Water Placement: Hold a clear glass jar with distilled water. Place the cut end of the spiderette in water while making sure only the bottom part is covered.
- Direct Indirect Placement: Place the jar somewhere with bright indirect lights.
- Change Water Periodically: Change the water every few days to prevent stagnation.
- Wait for Roots to Develop: After about 7-10 days you will be able to see the roots developing. Transplant spiderette directly to the soil once they reach 2 inches.
This is a very rewarding method as you can see the roots develop in the water.
Method 2: Soil Propagation
Soil propagation tends to result in stronger plants because they adjust directly to the growing medium. This is how you can propagate spider plants using soil:
- Select Your Spiderette: The same as with water propagation, you must pick a healthy spiderette.
- Prepare Your Pot: Fill a small pot (about 4 inches) with well-draining potting soil.
- Planting: If the spiderette contains roots, plant it right into the soil. If it still doesn’t have roots put it on top of the soil and cover it lightly with more soil.
- Water Thoroughly: Water the soil after planting to an even moisture level but not soggy.
- Provide Proper Light: Put the pot in a place with bright but indirect sunlight.
- Monitor Growth: Keep checking on moisture contents and ensure soil is kept moist until new growth starts.
Experienced gardeners often prefer soil propagation as it ultimately results in a more vigorous root system.
Method 3: Division of Parent Plant

Divide a mature spider plant is a great way to propagate several new plants in one operation:
- Take Out the Plant from its Pot: Carefully remove the parent plant from its pot without damaging its root ball too drastically.
- Find Sections: Look for the natural divisions within the root mass where you can separate sections with a healthy root and leaves.
- Divide Cautiously: Pull sections of the plant apart with your hands or sterilized tool without tearing the parts.
- Pot Each Section: Place each separate division into a pot, filled with new potting soil.
- Water and Care: Water each newly potted division well and put them in bright indirect light.
Division of the spider plant propagates new plants but also rejuvenates the parent plant.
Unique Tips for Successful Propagation
- Timing Matters: Always propagate your spider plant when it is actively growing in the months of spring and summer.
- Sanitize Tools: Avoid disease transmission by first sanitizing your cutting tools before using them.
- Rich Soil: Use a well-known potting mix that can hold moisture but drain well, for best growth.
- Humidity: The spider plant favors a humid environment and should be misted from time to time or placed near a humidity tray.
- Patience is the Key: It would take a while for some. Wait for your new plants to become established.
Unique Propagation Techniques
While traditional methods are effective, exploring unique approaches can yield interesting results:
1. Water Culture Method
This technique involves growing spiderettes in water indefinitely:
Set Up: Use a transparent container filled with distilled water and place several spiderettes inside.
Light and Nutrients: Ensure they receive ample light; consider adding liquid fertilizer every few weeks to promote growth.
Observation: This method allows you to observe root development closely and can be visually appealing as well.
2. Tissue Culture Propagation
Although more advanced, tissue culture can be an exciting way to propagate spider plants:
- Materials Needed: You will need agar gel, sterile containers, and growth hormones (available from gardening suppliers).
- Process: Take a healthy leaf tip from a spider plant and cut it into small sections.
- Place : These sections on agar gel mixed with growth hormones in sterile conditions. Over time, new shoots will develop from these sections, which can be potted once they reach sufficient size.
Care for New Plants

Proper care after having propagated your spider plants will determine the success of that procedure:
- Watering: Keep the soil lightly moist but not waterlogged. Overwatering can lead to root rot.
- Light Conditions: Prefer bright indirect sunlight; direct sunlight may scorch young leaves.
- Humidity and Temperature: Spider plants prefer average household humidity and temperatures ranging from 65°F to 75°F, or from 18°C to 24°C.
Solving Common Problems
Even with utmost scrutiny, some problems may spring up in propagation:
- Yellowing Leaves: Overwatered or not enough light; Change their care.
- Root Rot: Provide adequately drilled drainage holes for the pots and avoid keeping cuttings in water too long without exchanging it.
- Stunted Growth: If your new plants are not growing well, check for pests or diseases and ensure they are receiving enough light and nutrients.
Want to know more about plants? Discover intriguing FloraFacts here!
FAQs on How to Propagate Spider Plant
1. What is the easiest way to propagate spider plants?
The easiest way to propagate spider plants is by using spiderettes (baby plants) that grow from the mother plant. Simply cut the spiderette with some roots attached and place it in water or directly in soil until it establishes itself.
2. How long does it take for spiderettes to root?
Spiderettes typically take about 2 to 4 weeks to develop sufficient roots when placed in water. If planted directly in soil, they may take a bit longer, depending on environmental conditions.
3. Can I propagate spider plants in water?
Yes, you can propagate spider plants in water. Place the cut end of the spiderette in a glass of water, ensuring the base is submerged, and wait for roots to grow before transferring it to soil.
4. Is it possible to propagate spider plants by division?
Yes, you can propagate spider plants by division. Remove the parent plant from its pot, carefully separate the root ball into smaller sections, and replant each section in fresh soil.
5. Do spider plants require special care after propagation?
After propagation, keep the new plants in a warm location with bright, indirect light and maintain slightly moist soil. Avoid overwatering to prevent root rot as they establish themselves.
Wrap Up
In summary, the art of learning how to propagate spider plant will be both rewarding and enjoyable. Whether water, soil, or division methods are used, each provides excellent benefits and opportunities for growth. By means of these detailed steps and tips, you’ll be able to successfully expand your collection of these charming houseplants while ensuring their health and vitality.
As you begin to propagate with spider plants, take note that, on the path to success, patience and care go hand in hand. Enjoy such beautiful new plants while, along the road, gaining valuable skills in the care of plants which can be applied to all kinds of varieties.
Master these techniques today and set yourself up for long-term success in gardening and houseplant care, for your home to stay alive and thriving with greenery for years to come! You now hold the key to the art of how to propagate spider plant. Watch as your indoor garden flourishes!
Discover essential tips and techniques in the Spider Plants: A Growing & Care Guide – Garden Design to master how to propagate spider plants and keep your indoor garden thriving!


